

We Compared the Leading Plastic Welding Kits. Here's Why KeepFuse is #1:
 Written by Benjamin Carter
Before you buy anything, check three things. First, the plastic: look for the recycling symbol on the part, since many bumpers are PP or TPO, and plan to try a staple on scrap first. Second, whether the staple is hot before the plastic scorches around it. Third, how much technique the kit demands.
That third point splits the field. Rod and iron kits make wide, filled seams, but they ask you to learn a second skill, and a cheap tool can stall on the second job. A staple-focused tool asks less, yet it needs the right staple shape and finishing tools, or you end up improvising. A good plastic welding kit should match how you repair, not the number of accessories in the box.
Kits look alike in photos, and the differences hide in specs, parts and what buyers report afterward. We wanted to know which one asks the least of you between the first crack and the last. So we lined up all five and compared them.
Here's what we found.
How We Compared Them
We compared the five kits on paper across four criteria: Heating Speed, Staple Variety, Repair Durability and Ease of Use. We read published specs, materials, parts lists and size details, and we weighed the feedback real buyers left for the kits that have it.
Heating Speed looked at how quickly the working tip is ready and how many extra tools you must warm up. Staple Variety counted shapes and how well they fit corners and bends. Repair Durability weighed materials and buyer reports, and Ease of Use covered handling, lighting and finishing tools. Every plastic welding kit faced the same four questions, so the scores stay comparable across the group.
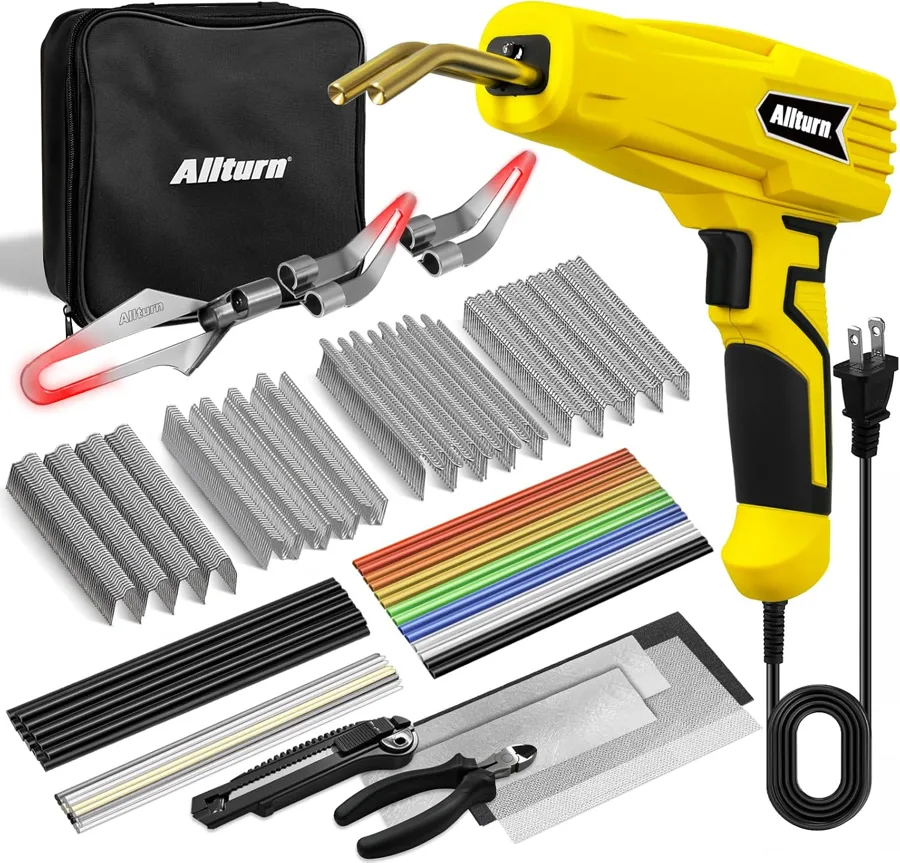
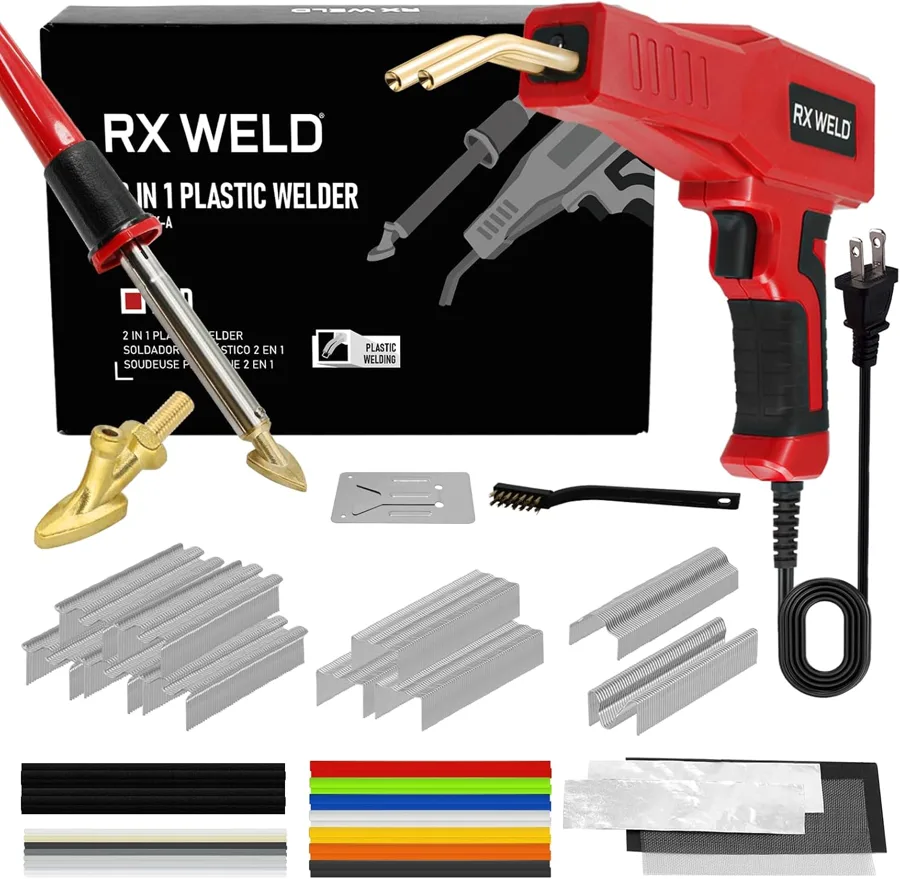
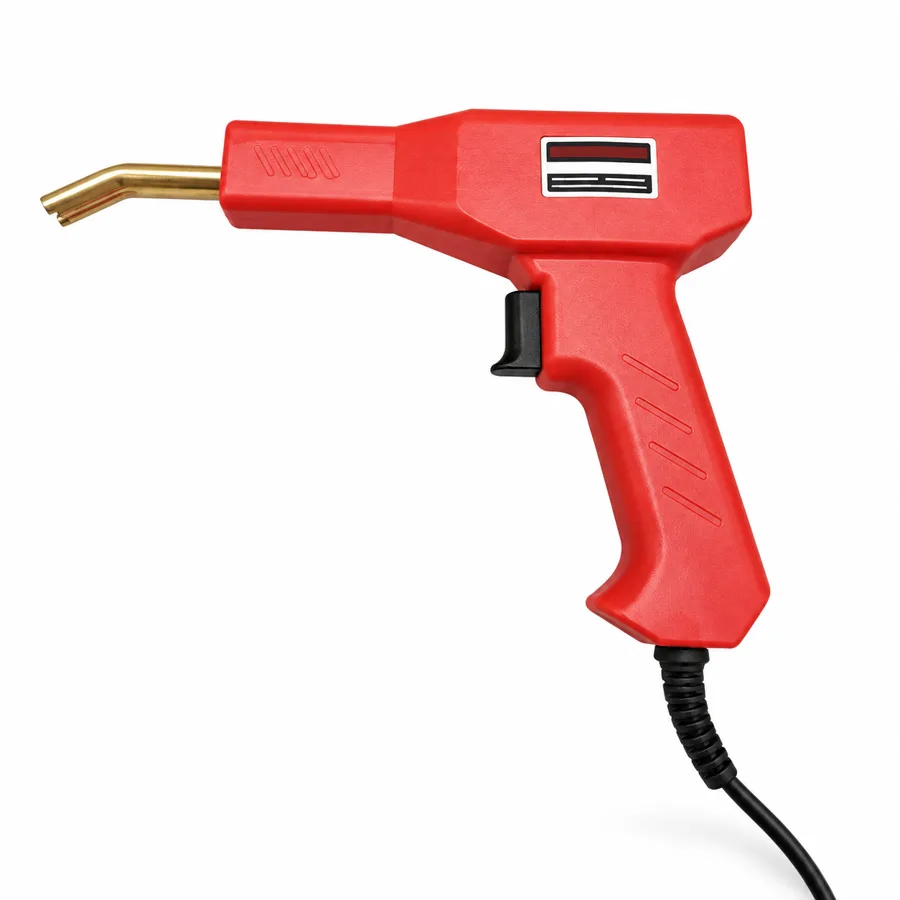
For our top pick, the strongest advantage is the combination: ready after about 3 seconds of heat-up with no rods or irons to learn, plus four staple shapes, 50 of each, in 0.6 mm (0.024 in) and 0.8 mm (0.031 in). The 150W model needs 15 to 20 seconds, and the RX WELD 2 takes up to five minutes. Allturn lists 1 to 2 seconds at the staple, but brings rods and tips to learn alongside.
Secondary strengths make the work smoother. Two pure copper tube clamps hold the staple for one-handed loading, the front LED lights dim spots, and the hard case keeps staples sorted in compartments. The 117 mm (4.6 in) side cutter and 130 mm (5.1 in) utility knife let you trim and tidy the repair the same day.
The honest limitation: it is a corded tool and the side cutter is compact, so you may want a larger cutter for the staple legs. Both are minor and easy to solve in a garage, where an outlet and a sanding block are usually at hand.
The Results:
With a warm-up of about 3 seconds, four staple shapes and a front light in one carry case, KeepFuse is the top pick for anyone fixing cracked plastic at home.
Value
Stop treating a cracked part as a shop errand. With this kit, a cracked bumper tab or crate becomes a weekend job you do in the driveway at your own pace, with the drilling, stapling and trimming all in your hands.
The same tool covers more than bumpers: motorcycle shells, headlight housings, household plastic items, plastic crates and PP pipes. One kit in the garage means the next broken piece is a repair job, not a replacement.
Confidence comes from the parts. Two pure copper tube clamps hold the staples, four shapes let you fit the staple to the break, and the hard clear case with compartments keeps everything sorted between jobs. Light pressure and a short cool-down between staples keep any tool working as intended. Open the case, pick the staple, and bridge the crack yourself.
Saturday Morning, Crack Closed
Picture the driveway on a Saturday. The case opens, the cord reaches the outlet, and you press a staple across the crack while the front light shows where it lands. By lunch the staples can be trimmed and the area sanded, ready for filler or paint if you want a cleaner look.
The same kit helps motorcycle riders with a cracked shell, homeowners with a broken plastic crate, and anyone with a headlight housing or PP pipe that needs a fix. It also makes a practical first tool for a new driver learning to handle small repairs alone.
Frequently Asked Questions
It is made for cracks in car bumpers, motorcycle shells, headlight housings, household plastic items, plastic crates and PP pipes. Check the recycling symbol on your part, then try a staple on a hidden spot or scrap piece first. That quick check shows how your plastic reacts before you commit to the visible crack.
Yes. The version we sell is the kit with case and a US-style 2-pin plug. It is a corded tool, so plan to work within reach of an outlet.
The side cutter is compact at 117 mm (4.6 in) and comes with a 130 mm (5.1 in) utility knife. Sanding or grinding the legs smooth is the finishing step. A larger cutter is optional if you want an easier cut.
The staples do the reinforcing, and a larger cutter is optional. No rods come in the box. Some people add plastic rod or filler later to even out the surface.
Results depend on your prep and the plastic, and nobody can promise a lifespan. Staples grip both sides of the break instead of sitting on top like glue. Clean the crack, drill an end hole, and use light pressure.
Like any budget tool, it works best with light pressure and a short cool-down between staples. Let it rest if it feels hot, and do not force a staple that is not going in.
Melting plastic gives off a strong smell. Work with the door open or outdoors, and keep the job short and steady instead of lingering on one spot.
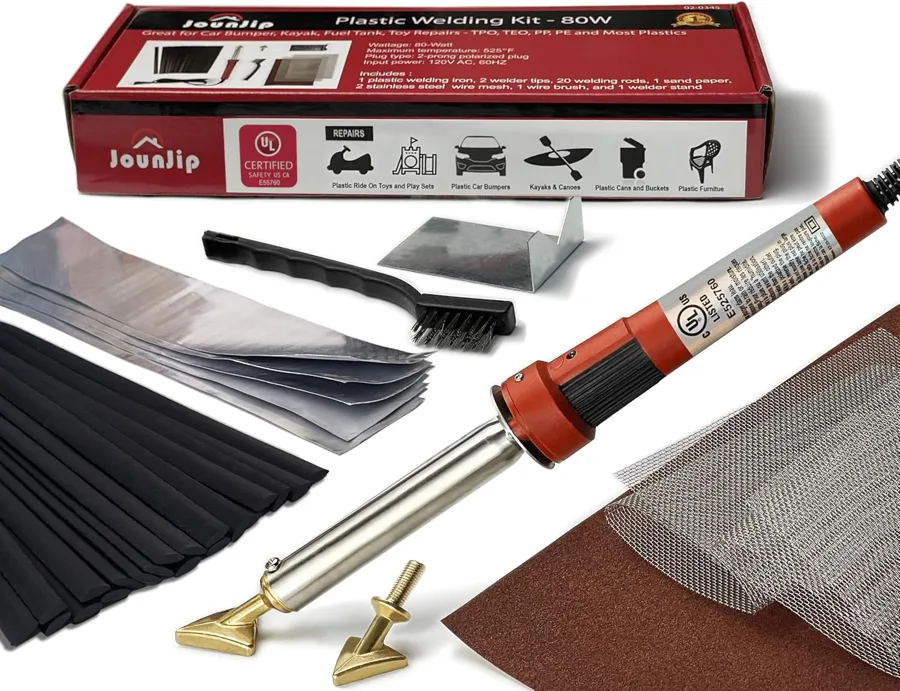
Staples bridge the crack across both sides but do not seal it. For a hull, plastic rod or filler is an optional addition if you want a watertight seam. A rod kit like the JOUNJIP suits wide seams better.
Purchase and Delivery Process
Open the KeepFuse store page and add the kit to your cart. Then confirm your order.
The box holds the welding gun, a side cutter, a utility knife, 200 staples (50 V, 50 M, 50 straight wave and 50 big wave), the hard clear carry case and an instruction sheet.
Where Can I Buy the KeepFuse?
Getting your own KeepFuse with a 50% discount is simple. Just follow these steps: